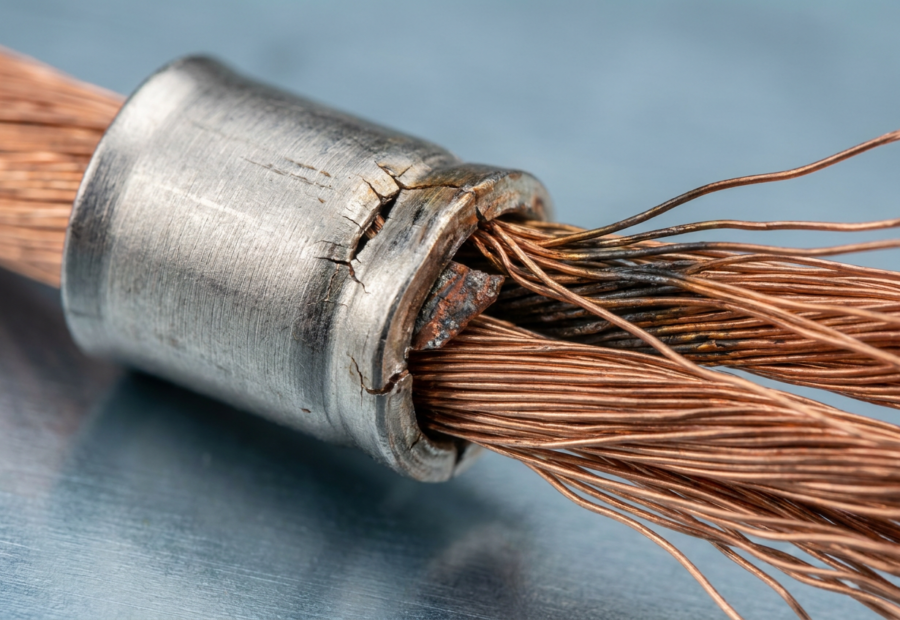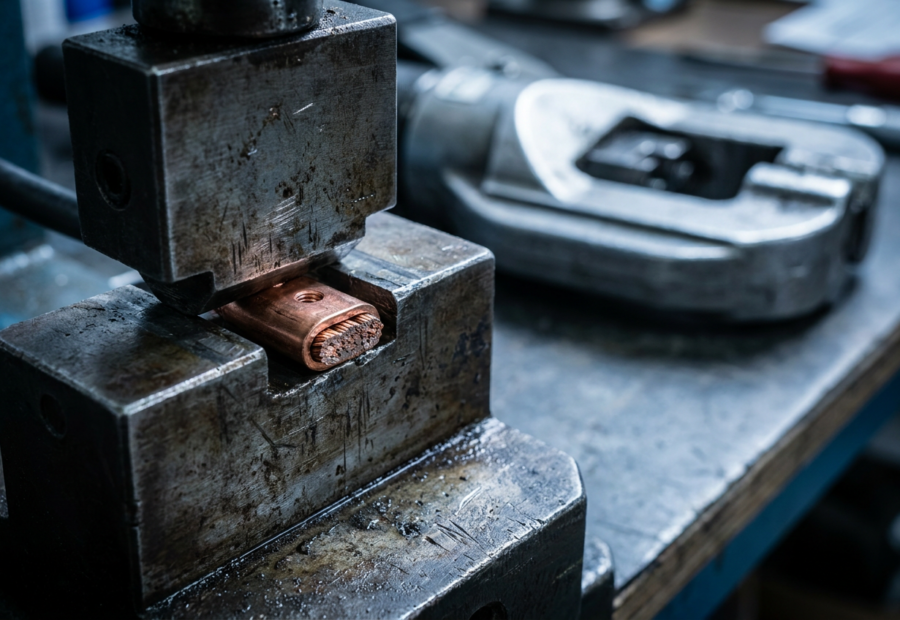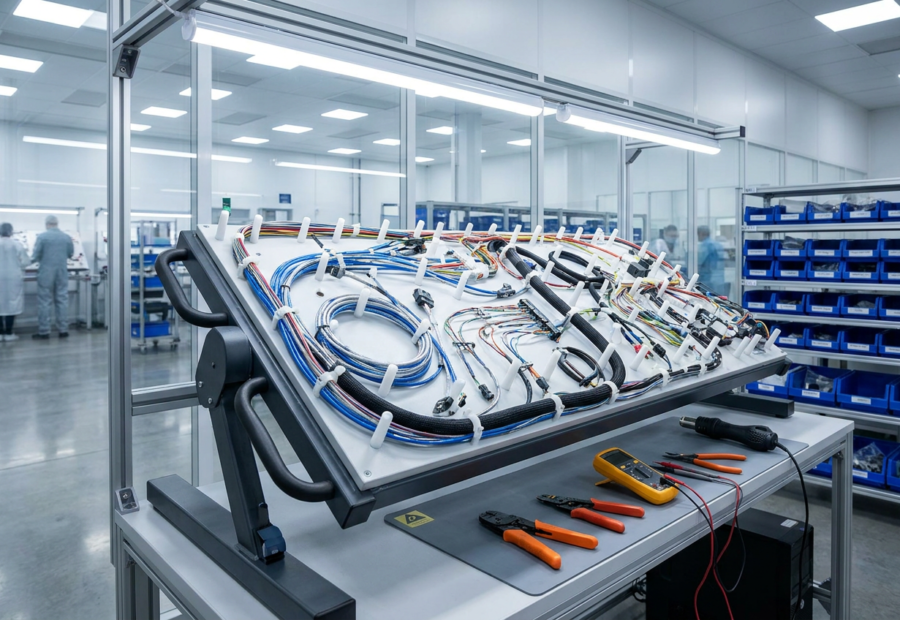
When a crimp defect shows up on the production line, the first assumption is often the same: bad wire, bad contact, bad material lot. It’s an understandable reflex — material is the variable that changes from batch to batch, so it’s the easiest to suspect. But in a large share of failure investigations, the material is exactly to spec. The defect originates somewhere else entirely: in the tooling that made the crimp.
Treating every defect as a material issue by default doesn’t just waste investigation time. It leaves the actual cause — a worn positioner, a mismatched tool, a drifted setting — sitting on the line, quietly producing the next defect while the wrong variable gets scrutinized.
A Defect Is Not Automatically a Material Problem
Material inspection is important, and it should absolutely be part of any investigation. But it’s one branch of the tree, not the whole tree. A crimp connection is the output of a system: wire, contact, tool, positioner, setup, and operator process all acting together. When the output is wrong, any one of those variables — or a combination — can be the cause.
Jumping straight to “bad batch” without ruling out tooling means the investigation is starting from a conclusion instead of working toward one. The more reliable approach treats tooling as a primary suspect from the outset, not a last resort after material checks come back clean.
Typical Tooling-Related Causes
The table below summarizes the most common tooling-related root causes behind crimp defects, what they typically look like on the line, and what to check first.
| Tooling Cause | How It Typically Shows Up | First Thing to Check |
|---|---|---|
| Wrong crimp tool | Tool completes the cycle, crimp looks acceptable, but fails pull-test or cross-section review | Approved-tool list for this exact part number and revision |
| Wrong positioner / locator | Inconsistent crimp height, contact seated at an angle, strand visibility out of spec | Positioner part number vs. contact/gauge qualification records |
| Worn tool | Defect rate climbs gradually over time rather than appearing suddenly; wider tolerance band on crimp height | Calibration date, cycle count, and maintenance history |
| Incorrect setting | Defect appears only on one station or one shift; other stations running the same part are unaffected | Current setup vs. documented setting for that specific part/gauge |
| Wrong tool for the contact | Defect appears right after a new contact or connector family is introduced, even though the tool “fits” | Manufacturer-specified tooling for the new contact vs. tooling actually in use |
| Unsuitable process | Correct tool and settings, but defect persists — often tied to handling, strip length, or sequence steps around the crimp itself | Work instructions and station process flow, not the tool in isolation |
None of these causes are visible from a finished, assembled harness. They only surface when the tooling itself — not just the part — becomes part of the investigation.
How to Systematically Narrow Down the Cause
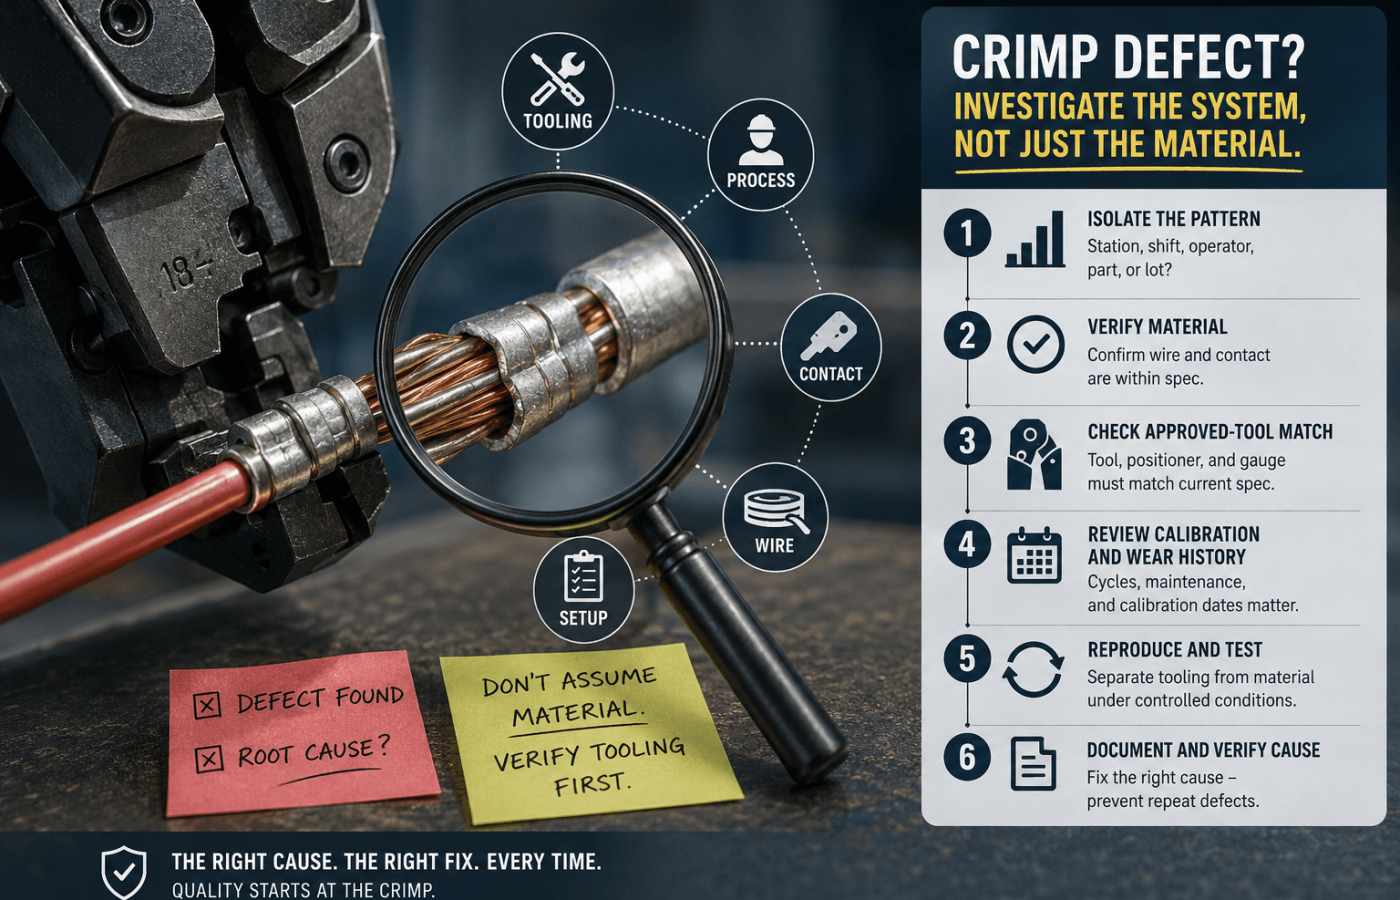
A structured investigation moves from broad to specific, ruling out categories rather than guessing at individual causes:
- Isolate the pattern. Is the defect tied to one station, one shift, one operator, one part number, or one wire/contact lot? Patterns point directly at which variable to investigate first.
- Verify material independently of tooling. Confirm wire and contact are within spec and from a known-good lot — but treat this as ruling out one variable, not confirming the conclusion.
- Check the approved-tool match. Confirm the tool, positioner, and contact/gauge combination in actual use at that station matches current specification and manufacturer requirements — not what the paperwork assumed was in use.
- Review calibration and wear history. A tool within its cycle life and calibration window behaves differently than one operating past it, even if both “look fine.”
- Reproduce under controlled conditions. Run known-good material through the suspect tooling, and known-good tooling with the suspect material, to separate the two variables cleanly.
- Document the confirmed cause before implementing a fix. A defect resolved by guesswork tends to reappear; one resolved by isolating the actual variable typically doesn’t.
Why Tooling Should Be Included Early in Root Cause Analysis
The cost of investigating tooling late is rarely just lost time. It’s continued production against a root cause that hasn’t been identified — meaning every part made at that station in the meantime carries the same risk as the part that triggered the investigation in the first place.
Including tooling as a first-tier suspect, alongside material and process, shortens the path to the actual cause and limits how much at-risk product gets produced while the investigation is underway. In flight-critical applications, that difference isn’t just about efficiency — it’s about how much unqualified product may already be downstream before the real cause is found.